The Bug Factory: Meal Worm Growing Pods
|
LIFECYCLE AT A GLANCE
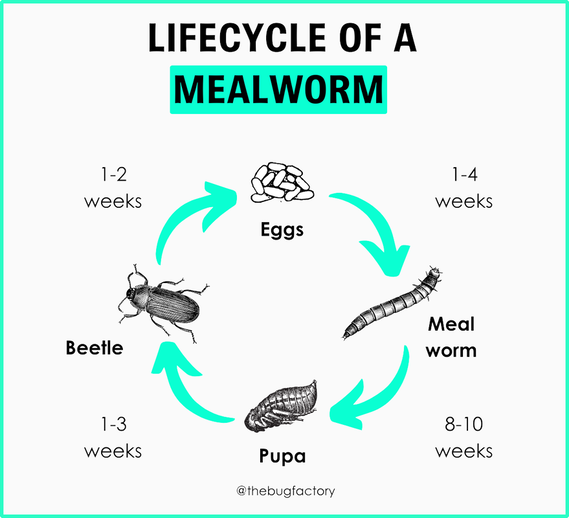
Mealworms are the larval form of a darkling beetle, Tenebrio monitor. These are classified as a holometabolic insect, when means they pass through 4 distinct life stages: EGG, LARVA, PUPA and ADULT. In optimal conditions, the full lifecycle can take about 4 months and occur continuously. EGG. Females typically lay up to 250-300 white, very tiny, bean-shaped eggs at once. If the environmental parameters are favorable, this will happen year-round. LARVA. The segmented, goldenish larvae are lethargic, clumsy crawlers that molt between 5-7 times. They grow to about 1 inch in length and eat a wide array of grains, as well as fruits and vegetables for moisture. Optimal temperature range is 65-85°F and no direct sunlight. PUPA. This is the C-shaped, inactive stage where the metamorphic, transformation magic takes place. No feeding occurs during this phase of the lifecycle. ADULT. Initially cream colored, these emerge from the pupa and turn a dark color within a few days. This slow moving beetle are quite sedentary, but do have the ability to fly, though the occurrence is rare. Mealworms are prolific breeders and the adults can live up to 1 year. |
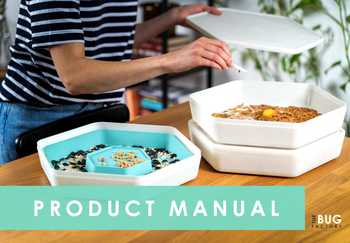
Product ManualComprehensive PDF instructions that can be downloaded or view on your mobile.
|
Video GuideFor those that prefer a visual tutorial on setting up their mealworm growing habitat.
|
FAQAn ever evolving work in progress with some common questions already listed.
| ||||
SIMPLE SETUP STEPS
STEP 1 - Familiarize |
STEP 2 - Add Mealworms |
STEP 3 - Add Substrate |
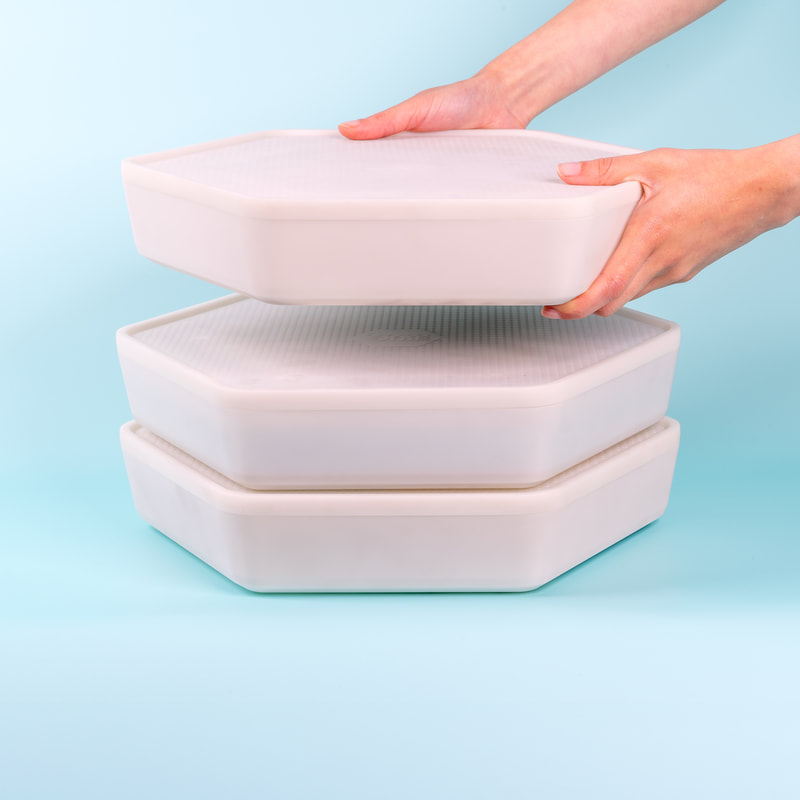
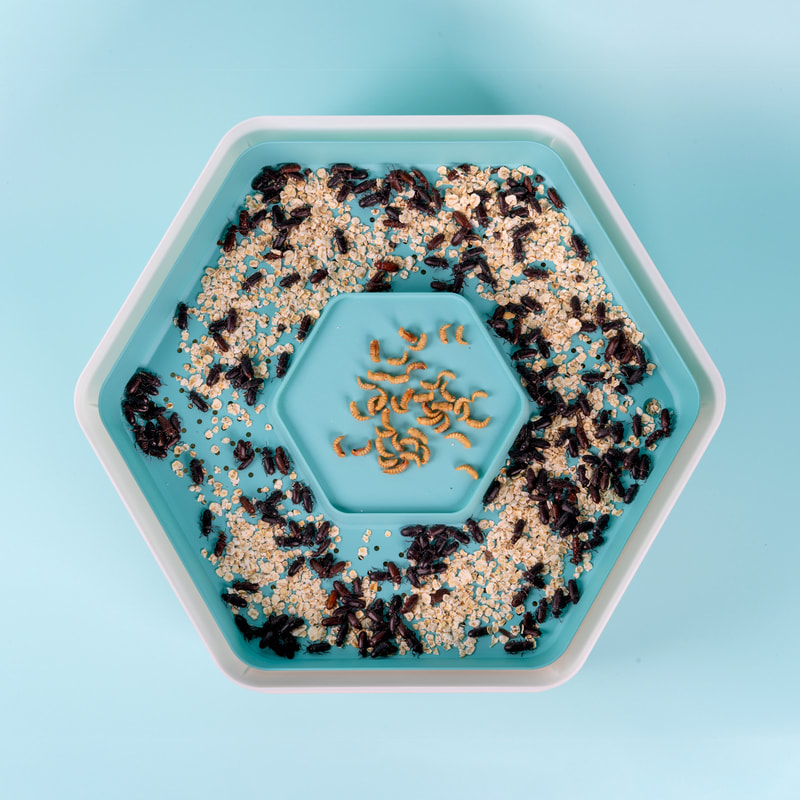
The 3-Pod Mealworm Growing Habitat includes 3 x White Mealworm Trays + 3 x Lids. This is where the eggs hatch and the mealworms reside and grow. There is also 1, movable Blue Beetle Mating Tray, where the pupae hatch into adults who then breed and lay eggs. |
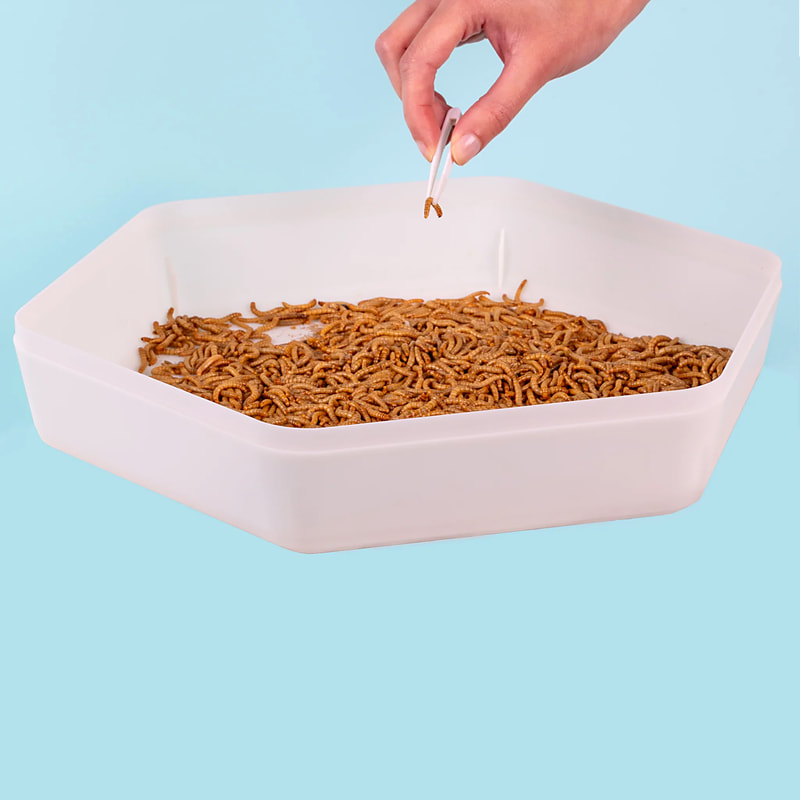
Add Mealworms to one of the three Mealworm Trays. You will need a minimum of 100 grams to start. 4 large mealworms weighs approx. 1 gram, so that would be around 400+ mealworms. 500-1000 worms is a good starting point. Set extra trays and blue insert aside. |
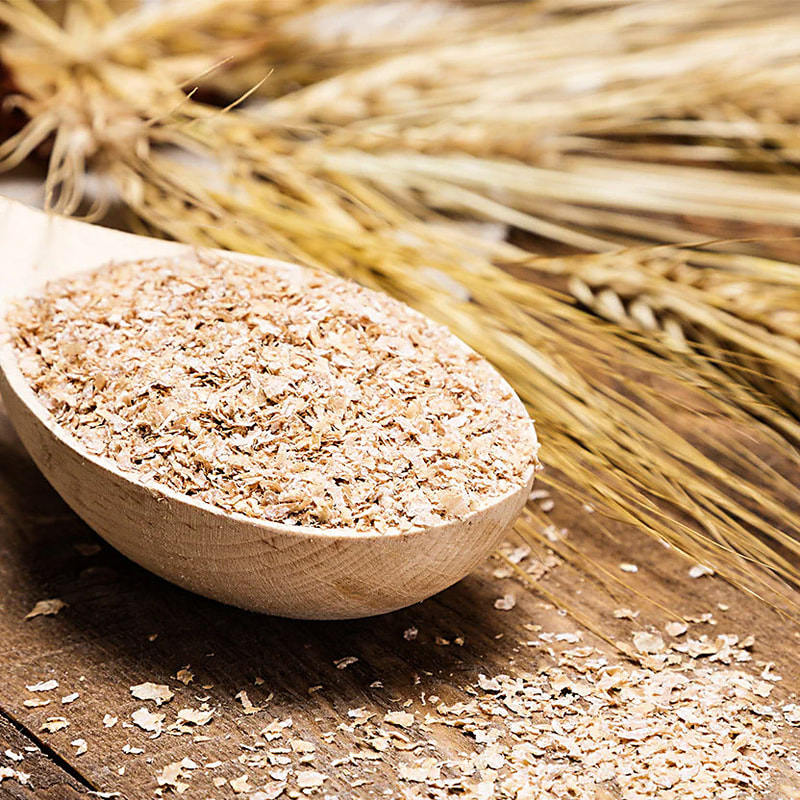
Add 1-2 cup of wheat bran or oatmeal to the tray with the mealworms. This is their food as well as their substrate (also called bedding). Add a few baby carrots or potatoes cut in half - this will provide the necessary moisture necessary for survival. |
STEP 4 - Move Pupae |
STEP 5 - Adult Beetles |
STEP 6 - Move Blue Tray |
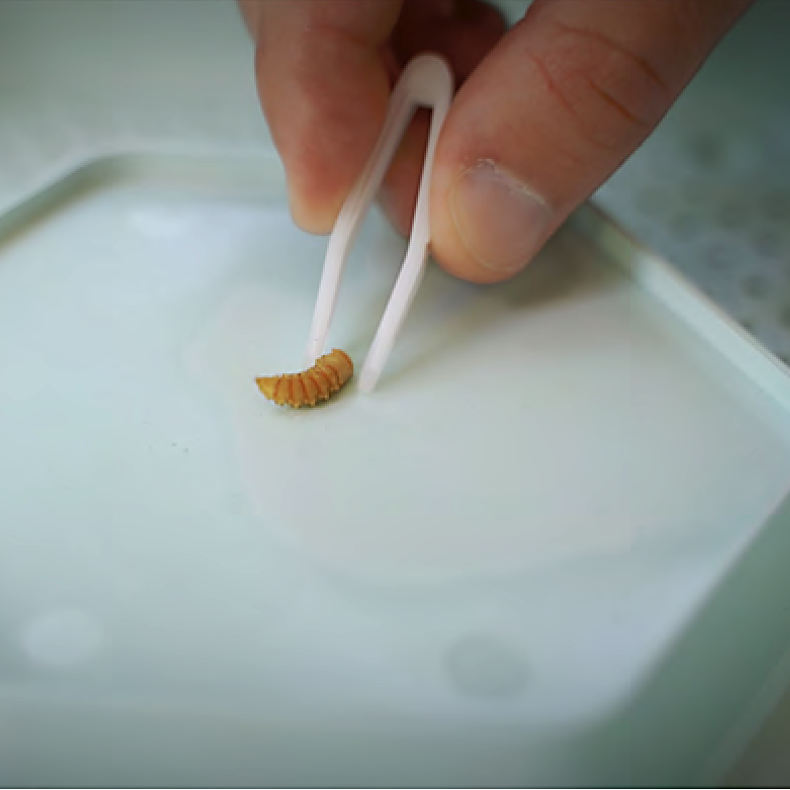
Over the coming weeks, the mealworms will grow and turn into immobile pupae. As they do this, use the tweezers to move them from the mealworm tray to the raised centre platform of the Blue Beetle Mating Tray inside of the 2nd white tray. As the pupae hatch, the beetles will crawl off the platform into the tray area where they will mate. Continue adding pupae to center platform. |
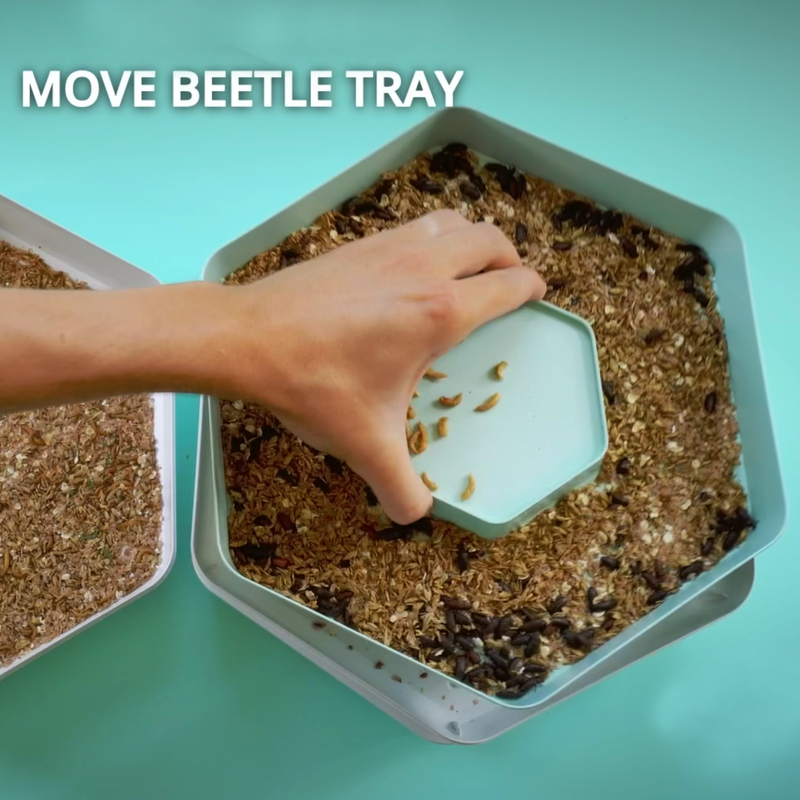
Add 1 cup of large flaked oatmeal and a few baby carrots as adults emerge from the blue tray. Add more food as needed. Discard anything moldy. Adults will breed and begin laying eggs which will fall through the holes. Add wheat bran bedding and a several carrot cubes to the white tray below. After a few weeks, the mealworms will become visible. After a month, move the blue tray with adults to the next (3rd) empty white tray. |
As these juvenile mealworms grow in the second tray, you can start using them to feed your animals. Always check food levels in all active trays, harvesting mature larvae for feed, while allowing a few to pupate and move to the Blue Beetle Mating Tray where they will become adults. After a month in the 3rd tray, move it to the 1st tray for a continuous production cycle. |

